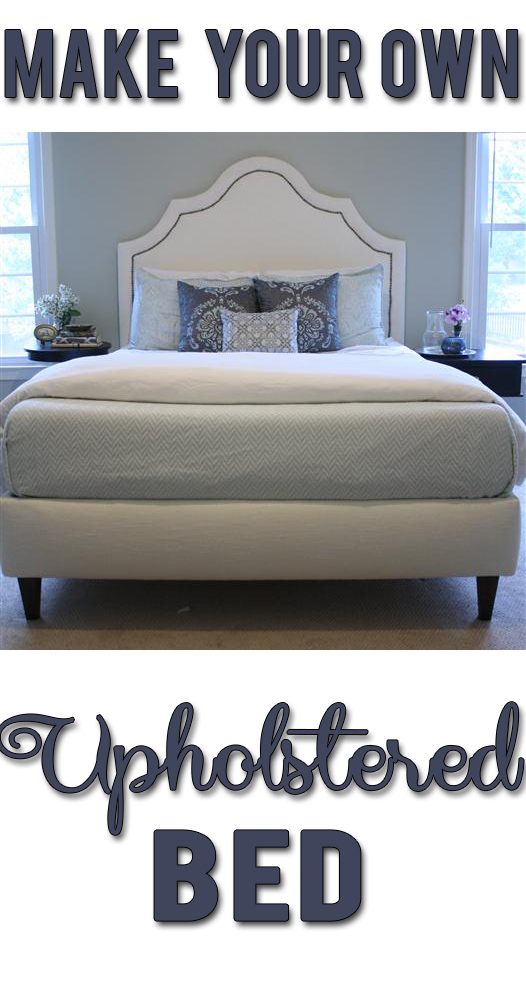
How to Build an Upholstered Bed

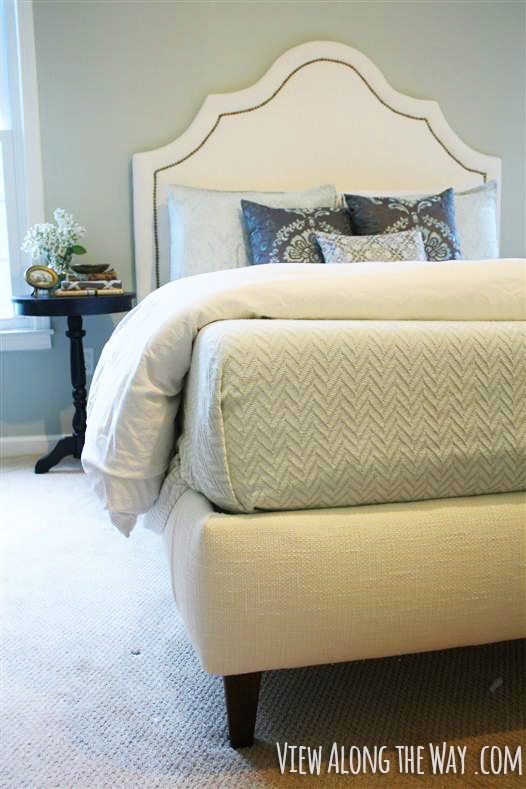
Soooo a couple years ago, Andy and I built this upholstered bed:
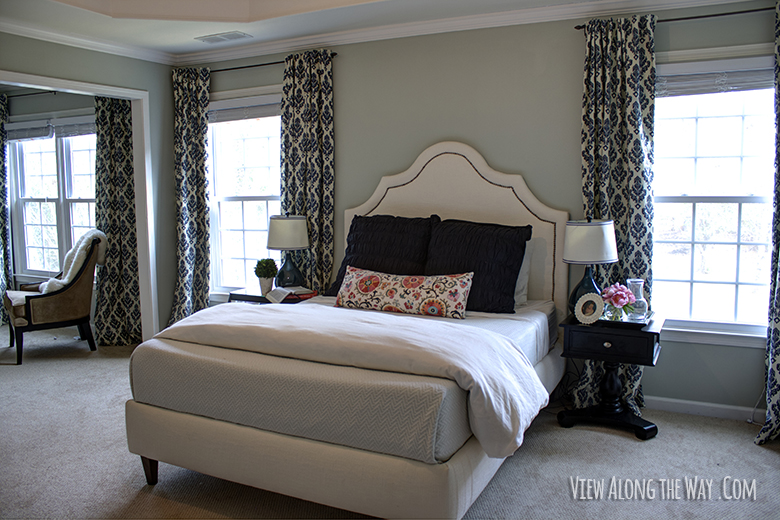
We were inspired by this bed by Jonathan Adler which costs about $2,500.

I blogged the whole process, and I still get lots of questions about it. I completely understand the questions, because I think the way I wrote it all out – over a bunch of different posts, with no common list of materials or costs – was a little confusing. I definitely could’ve chronicled the process in a much clearer way!
I’ve been wanting to collect the tutorial for the whole process start-to-finish all in one place so you can get right to making your own, if you’re so inclined. Plus, it’s fun to look back on how Andy and I tackled something we weren’t sure we could do. So finally, I’m pulling the tutorial all together for you – materials, costs, and all the steps.
Okay great! (See what I did there? Give you no room to disagree?)
If you’d like to make your own queen-sized DIY upholstered bed, here’s your materials list:*
- Six yards of pretty fabric. (Here are some tips on the best kinds of fabrics for this job.
- Six yards of inexpensive muslin.
- Six yards of 8-pound batting. (You can use more or less for extra cushiness. Totally up to you.)
- Nailhead Trim in whatever finish you like. (Here’s antique gold, silver and brass.) I think mine is closest to the antique gold finish. The color on mine is called French Natural, and I ordered it from here, because at the time Amazon didn’t carry it.)
- One sheet of 1/2″ thick plywood. (For the headboard.)
- One sheet of 3/4″ thick plywood. (For the platform.)
- 12 boards for the bed slats: 1″ x 4″ x 8′ each
- 2 boards that are 2″ x 2″ x 8′ each
- 1 board that’s 3″ x 3″ x about 6′ for the legs
- 4 boards that are 1″ x 2″ x 8′
- 2 2″ x 4″ studs
- Pnuematic staple gun and staples. This is the one we have. (We tried building a bed with an electric staple gun, and I can tell ya: the pneumatic kind is a MUST-HAVE! SOOO worth every penny.)
Step 1: Cut out your headboard

Using a jigsaw or a skillsaw, cut your headboard shape out of the 1/2″ plywood. Here’s a diagram we made if you want to duplicate the same shape we did, or you can get creative and make it any ol’ shape your sweet little heart desires.
(Here are the details on that step.)
Step 2: Build your platform
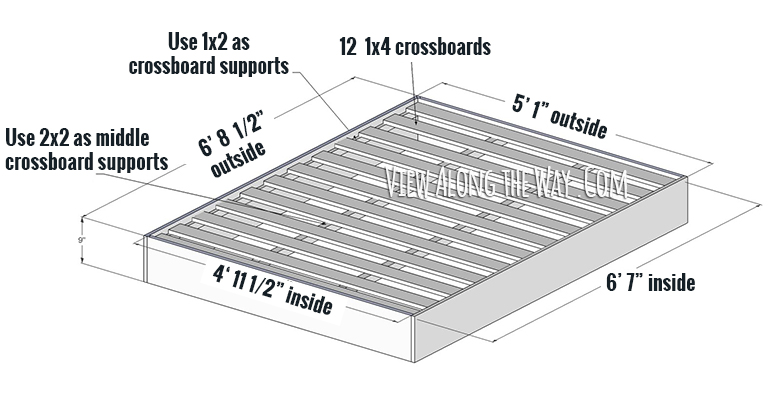
Time to build the incredible spectacle of engineering that will soon hold your mattress! You’ll use your 3/4″ plywood sheet to make the sides. This diagram will be extra handy for you. I fixed it up and make it a little easier to read from the initial version:
This post has a complete cut list and step-by-step instructions for assembling your platform.
Step 3: Upholster the headboard.

You’ll start by laying this on the floor: enough muslin to cover the headboard, followed by about three layers (more or less if you want) of the batting, then the plywood sheet you cut out for your headboard.
Then you’ll staple it all to your plywood sheet. (There’s a learning curve here, so make sure you read over our lessons learned from this post before you start!)
Then you’ll lay the muslin-upholstered headboard on top of your pretty fabric, and upholster it with the pretty fabric. (You’re going to think the muslin step was unnecessary, but friend: I implore you not to skip this step! The muslin makes the finished product SO much better and more professional looking. I’m as thrifty as they come, so if I tell ya it’s worth the extra dollars for muslin, you KNOW it is.)
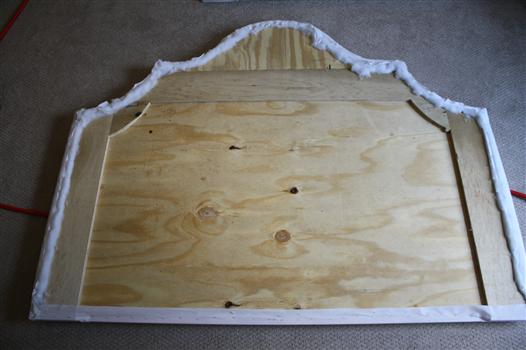
This is what it’ll look like from the back once you’ve stapled on your pretty fabric:
Then you’ll add your nailhead trim in whatever design you want. Click here to follow along with how I added mine and see the step-by-step instructions for upholstering the headboard.
Almost done!
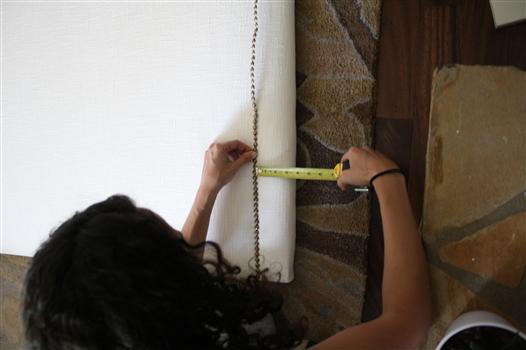
Step 4: Upholster the Platform

This post will give you the full run-down on how to cover the platform with your batting, muslin and pretty fabric, including the process of finishing The Dreaded Corners.
Step 5: Add the legs
You can actually just buy the finished legs at the hardware store if you want. They sell a few options, but nothing was exactly what we wanted so we made our own.
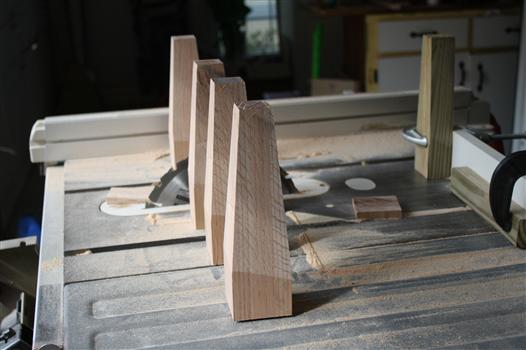
This post will tell ya how we made and attached ours. Aren’t they snazzy? I love ’em.
Step 6: Attach the headboard to the platform
…And pat your handy self right on the back, then lay in your fancy new bed and take a well-earned nap! (Here’s how we attached it all together! Yay!)
Costs
We used coupons and shopped sales and came away having only spent about $278! (Compared to $2,500 for the inspiration!) Here’s the breakdown:
| Wood supplies (see details here.) | 88.82 |
| Batting (6 yards at $4/yd) | 24.00 |
| Muslin (6 yards at $4/yd) | 24.00 |
| Upholstery fabric (details here) | 141.00 |
| Staples (Spent ~$10, used ~10%) | 1.00 |
| Total | 278.00 |
It’s been a couple years since we finished this project, and we are still SOOO very happy with it! There’s just something so satisfying about creating something from scratch that you see and use every single night.
Have you ever upholstered anything or built your own furniture?
